
Epoxy flooring is known for its strength, gloss, and seamless beauty. If you’re a DIY enthusiast, you’ll be pleased to know that with the right tools and guidance, you can achieve a professional-grade finish at home. Here’s a complete step-by-step guide:
Step 1: Surface Preparation
Start with a clean, dry concrete surface. Remove any oil, dust, and previous coatings using a grinder or concrete etcher.
Pro Tip: Proper prep makes up 80% of a successful epoxy floor!

Step 2: Repair Cracks
Use an epoxy patching compound to fill any cracks or holes. Allow it to cure fully before moving on.
Step 3: Prime the Floor
Apply an epoxy primer to promote better adhesion. This step prevents bubbles and improves the lifespan of your coating.
Step 4: Mix Your Epoxy Resin and Hardener
Carefully mix both components according to the manufacturer’s instructions. Use a drill mixer to ensure even blending.
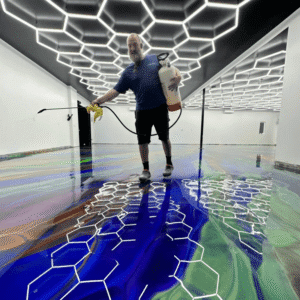
Step 5: Pour and Spread the Epoxy
Start pouring in sections and spread evenly with a notched squeegee. Use a roller to smooth out the surface.

Step 6: Add Decorative Effects (Optional)
You can sprinkle flakes or use metallic pigments for a custom look.
Step 7: Allow to Cure
Let the floor cure for 24–72 hours, depending on the temperature and product used.
Ready to take your DIY skills further? Join our London Epoxy Academy beginner course for hands-on experience!